
In the previous posts we explained how to apply Image Classification in Keras, how to apply Object Detection using YOLO and how to apply Face Detection in Images and Videos using OpenCV.
In this post, we will provide a walk-through example of how we can apply Object Detection using Tensorflow using the Inception Resnet V2 Model.
Code of Object Detection in Tensorflow
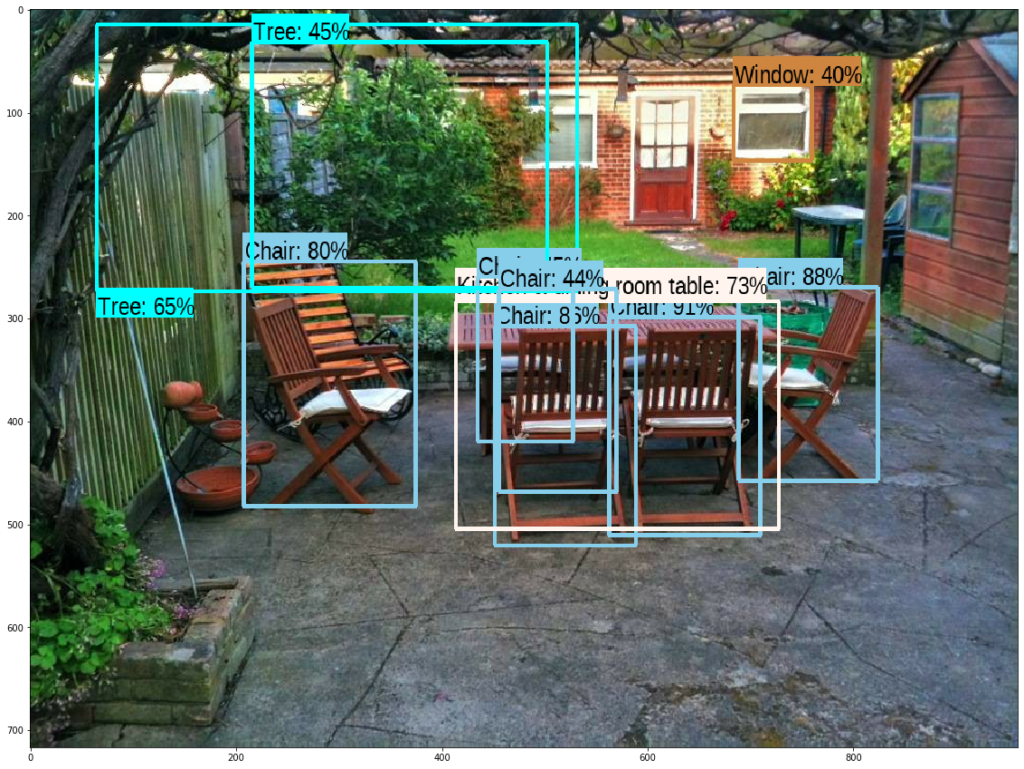
Let’s start coding! We are going to use this photo:
#@title Imports and function definitions

# Runs with stable version tensorflow 2.1.0.

!pip install tensorflow==2.1.0

# For running inference on the TF-Hub module.
import tensorflow as tf

import tensorflow_hub as hub

# For downloading the image.
import matplotlib.pyplot as plt
import tempfile
from six.moves.urllib.request import urlopen
from six import BytesIO

# For drawing onto the image.
import numpy as np
from PIL import Image
from PIL import ImageColor
from PIL import ImageDraw
from PIL import ImageFont
from PIL import ImageOps

# For measuring the inference time.
import time

# Print Tensorflow version
print(tf.__version__)

# Check available GPU devices.
print("The following GPU devices are available: %s" % tf.test.gpu_device_name())


# Helper functions for downloading images and for visualization.
# Visualization code adapted from TF object detection API for the simplest required functionality.

def display_image(image):
  fig = plt.figure(figsize=(20, 15))
  plt.grid(False)
  plt.imshow(image)


def download_and_resize_image(url,  display=False):
  _, filename = tempfile.mkstemp(suffix=".jpg")
  response = urlopen(url)
  image_data = response.read()
  image_data = BytesIO(image_data)
  pil_image = Image.open(image_data)
  #pil_image = ImageOps.fit(pil_image, (new_width, new_height), Image.ANTIALIAS)
  pil_image_rgb = pil_image.convert("RGB")
  pil_image_rgb.save(filename, format="JPEG", quality=90)
  print("Image downloaded to %s." % filename)
  if display:
    display_image(pil_image)
  return filename


def draw_bounding_box_on_image(image,
                               ymin,
                               xmin,
                               ymax,
                               xmax,
                               color,
                               font,
                               thickness=4,
                               display_str_list=()):
  """Adds a bounding box to an image."""
  draw = ImageDraw.Draw(image)
  im_width, im_height = image.size
  (left, right, top, bottom) = (xmin * im_width, xmax * im_width,
                                ymin * im_height, ymax * im_height)
  draw.line([(left, top), (left, bottom), (right, bottom), (right, top),
             (left, top)],
            width=thickness,
            fill=color)

  # If the total height of the display strings added to the top of the bounding
  # box exceeds the top of the image, stack the strings below the bounding box
  # instead of above.
  display_str_heights = [font.getsize(ds)[1] for ds in display_str_list]
  # Each display_str has a top and bottom margin of 0.05x.
  total_display_str_height = (1 + 2 * 0.05) * sum(display_str_heights)

  if top > total_display_str_height:
    text_bottom = top
  else:
    text_bottom = bottom + total_display_str_height
  # Reverse list and print from bottom to top.
  for display_str in display_str_list[::-1]:
    text_width, text_height = font.getsize(display_str)
    margin = np.ceil(0.05 * text_height)
    draw.rectangle([(left, text_bottom - text_height - 2 * margin),
                    (left + text_width, text_bottom)],
                   fill=color)
    draw.text((left + margin, text_bottom - text_height - margin),
              display_str,
              fill="black",
              font=font)
    text_bottom -= text_height - 2 * margin


def draw_boxes(image, boxes, class_names, scores, max_boxes=10, min_score=0.1):
  """Overlay labeled boxes on an image with formatted scores and label names."""
  colors = list(ImageColor.colormap.values())

  try:
    font = ImageFont.truetype("/usr/share/fonts/truetype/liberation/LiberationSansNarrow-Regular.ttf",
                              25)
  except IOError:
    print("Font not found, using default font.")
    font = ImageFont.load_default()

  for i in range(min(boxes.shape[0], max_boxes)):
    if scores[i] >= min_score:
      ymin, xmin, ymax, xmax = tuple(boxes[i])
      display_str = "{}: {}%".format(class_names[i].decode("ascii"),
                                     int(100 * scores[i]))
      color = colors[hash(class_names[i]) % len(colors)]
      image_pil = Image.fromarray(np.uint8(image)).convert("RGB")
      draw_bounding_box_on_image(
          image_pil,
          ymin,
          xmin,
          ymax,
          xmax,
          color,
          font,
          display_str_list=[display_str])
      np.copyto(image, np.array(image_pil))
  return image


# Load a public image from Open Images v4, save locally, and display.

image_url = "https://images.unsplash.com/photo-1556761175-4b46a572b786?ixlib=rb-1.2.1&ixid=eyJhcHBfaWQiOjEyMDd9&auto=format&fit=crop&w=967&q=80"
downloaded_image_path = download_and_resize_image(image_url, 1280, 856, True)


# FasterRCNN+InceptionResNet V2: high accuracy,
module_handle = "https://tfhub.dev/google/faster_rcnn/openimages_v4/inception_resnet_v2/1"

detector = hub.load(module_handle).signatures['default']

def load_img(path):
  img = tf.io.read_file(path)
  img = tf.image.decode_jpeg(img, channels=3)
  return img


def run_detector(detector, path):
  img = load_img(path)

  converted_img  = tf.image.convert_image_dtype(img, tf.float32)[tf.newaxis, ...]
  start_time = time.time()
  result = detector(converted_img)
  end_time = time.time()

  result = {key:value.numpy() for key,value in result.items()}

  print("Found %d objects." % len(result["detection_scores"]))
  print("Inference time: ", end_time-start_time)

  image_with_boxes = draw_boxes(
      img.numpy(), result["detection_boxes"],
      result["detection_class_entities"], result["detection_scores"])

  display_image(image_with_boxes)


run_detector(detector, downloaded_image_path)
And the output that we get is:
Object Detection Code for Labels Only
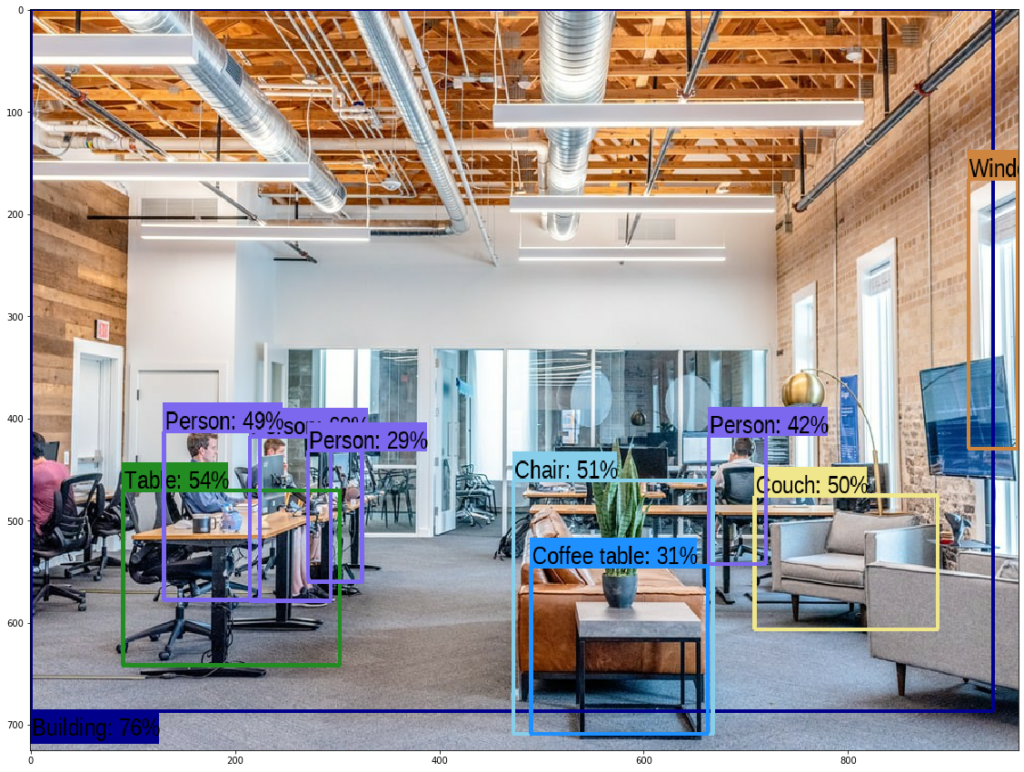
The code above was verbose because we wanted to show also the bounding boxes with the labels. Now we will provide a 5-line code of how we can apply Object Detection for getting back just the Labels and their corresponding probabilities. We will take as an input an image URL and it will return the Labels.
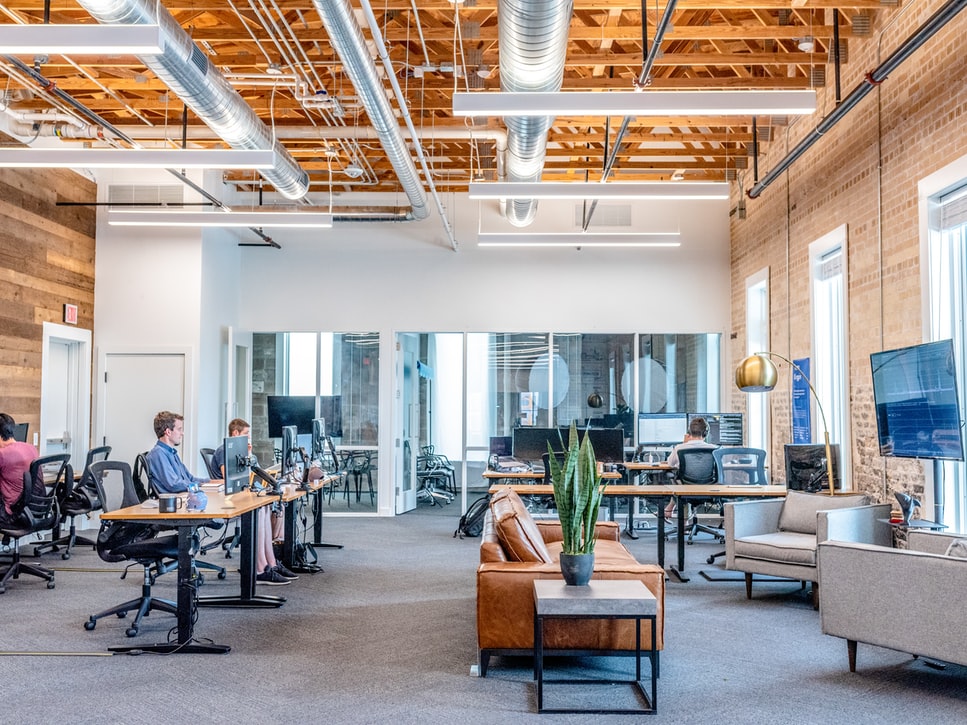
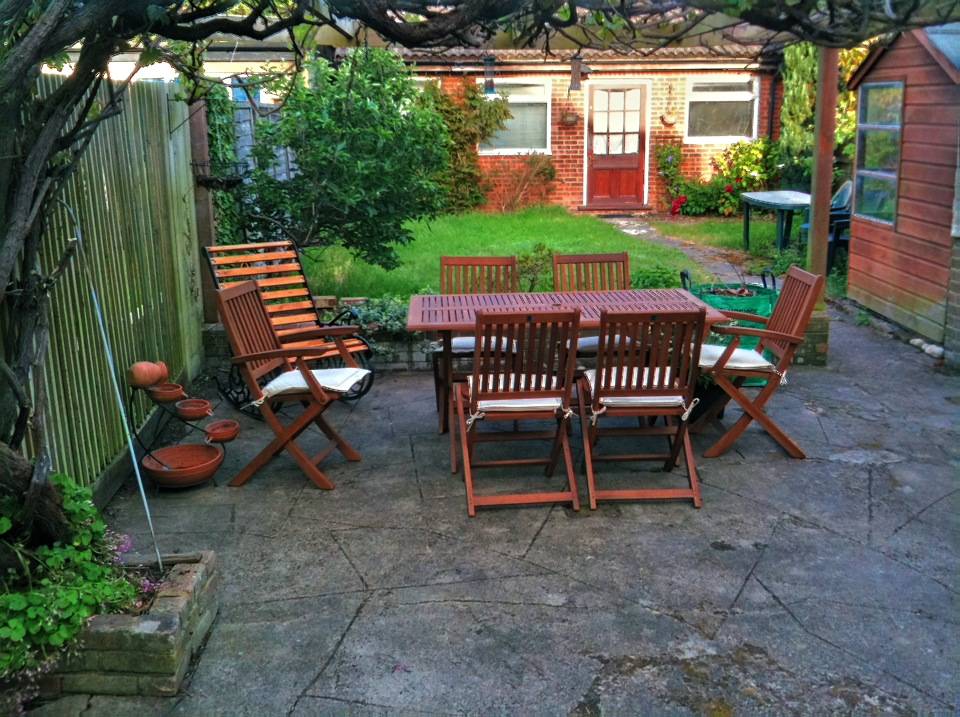
Let’s take the example of this image:
import tensorflow as tf
import tensorflow_hub as hub
import pandas as pd
import requests
# FasterRCNN+InceptionResNet V2: high accuracy
module_handle = "https://tfhub.dev/google/faster_rcnn/openimages_v4/inception_resnet_v2/1"
detector = hub.load(module_handle).signatures['default']
def object_detection(image_url):
img = tf.image.decode_jpeg(requests.get(image_url).content, channels=3)
converted_img = tf.image.convert_image_dtype(img, tf.float32)[tf.newaxis, ...]
result = detector(converted_img)
df=pd.DataFrame(result)
df['detection_class_entities']=df['detection_class_entities'].str.decode('UTF-8')
#display_image(image_with_boxes)
return(df[['detection_class_entities','detection_scores']])
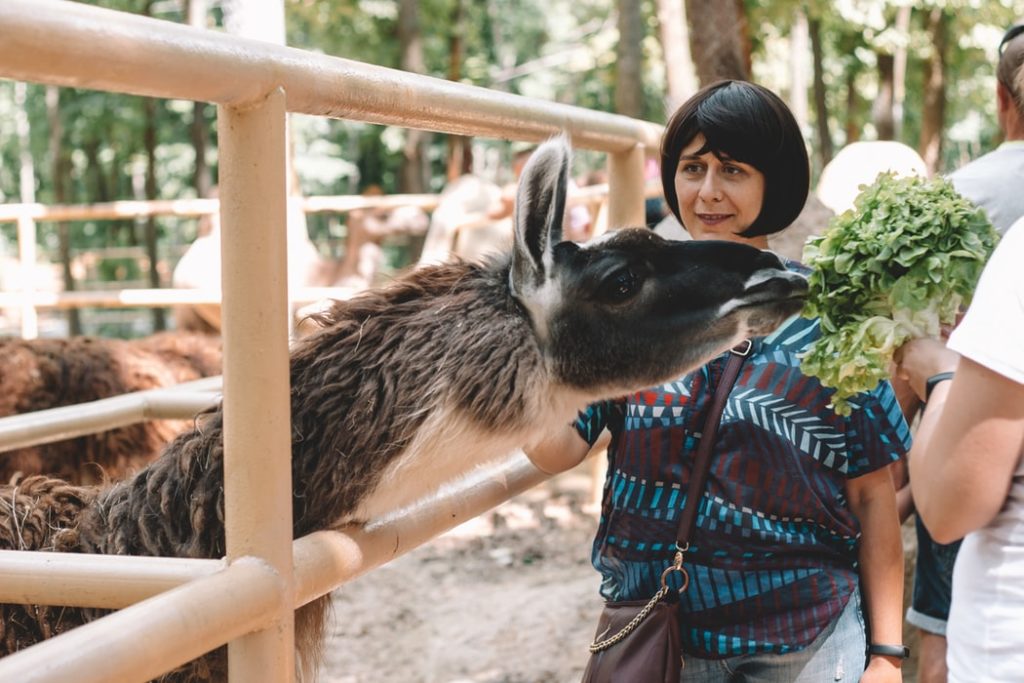
object_detection("https://images.unsplash.com/photo-1565867496556-e6f84b777af8?ixlib=rb-1.2.1&auto=format&fit=crop&w=1050&q=80")
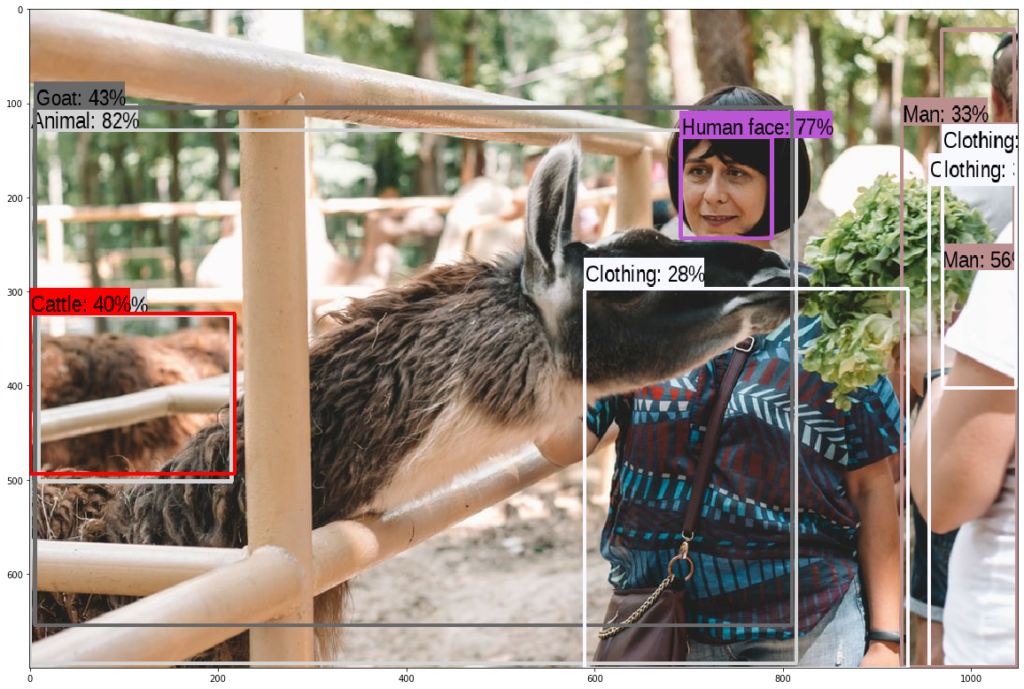
and we get (the top 20 Objects):
| detection_class_entities | detection_scores | |
| 0 | Animal | 0.773545 |
| 1 | Human face | 0.763692 |
| 2 | Goat | 0.617188 |
| 3 | Animal | 0.580068 |
| 4 | Man | 0.575318 |
| 5 | Cattle | 0.425042 |
| 6 | Clothing | 0.355093 |
| 7 | Clothing | 0.350552 |
| 8 | Man | 0.335434 |
| 9 | Clothing | 0.30389 |
| 10 | Alpaca | 0.288012 |
| 11 | Jeans | 0.275352 |
| 12 | Clothing | 0.264531 |
| 13 | Woman | 0.259113 |
| 14 | Man | 0.201497 |
| 15 | Plant | 0.180343 |
| 16 | Mule | 0.177625 |
| 17 | Woman | 0.166671 |
| 18 | Cattle | 0.138341 |
| 19 | Fashion accessory | 0.127797 |
Comments
We explained how easily you can apply Object Detection for FREE without having to pay the Google Vision, the ClarifAi, the Rekognition etc. The algorithm has high accuracy and is relevant fast. With just a few lines of code you can run Object Detection to your images!
Note: The URL of the initial image of this post can be found here!


2 thoughts on “Example of Object Detection in Tensorflow”
Awesome post! Keep up the great work! 🙂
Can this be run without pandas?