
We will discuss about how we can apply Face Detection using OpenCV. We go straightforward with a practical reproducible example.
The logic it the following: We get the image from the URL (or from the hard disk). We convert it to an numpy array and then to a gray scale. Then by applying the proper CascadeClassifier we get the bounding boxes of the faces. Finally, using PIllow (or even OpenCV) we can draw the boxes on the initial image.
import cv2 as cv
import numpy as np
import PIL
from PIL import Image
import requests
from io import BytesIO
from PIL import ImageDraw


# I have commented out the cat and eye cascade. Notice that the xml files are in the opencv folder that you have downloaded and installed
# so it is good a idea to write the whole path
face_cascade = cv.CascadeClassifier('C:\\opencv\\build\\etc\\haarcascades\\haarcascade_frontalface_default.xml')
#cat_cascade = cv.CascadeClassifier('C:\\opencv\\build\\etc\\haarcascades\\haarcascade_frontalcatface.xml')
#eye_cascade = cv.CascadeClassifier('C:\\opencv\\build\\etc\\haarcascades\\haarcascade_eye.xml')


URL = "https://images.unsplash.com/photo-1525267219888-bb077b8792cc?ixlib=rb-1.2.1&ixid=eyJhcHBfaWQiOjEyMDd9&auto=format&fit=crop&w=1050&q=80"
response = requests.get(URL)
img = Image.open(BytesIO(response.content))
img_initial = img.copy()

# convert it to np array
img = np.asarray(img)

gray = cv.cvtColor(img, cv.COLOR_BGR2GRAY)

faces = face_cascade.detectMultiScale(gray)
# And lets just print those faces out to the screen
#print(faces)

drawing=ImageDraw.Draw(img_initial)

# For each item in faces, lets surround it with a red box
for x,y,w,h in faces:
    # That might be new syntax for you! Recall that faces is a list of rectangles in (x,y,w,h)
    # format, that is, a list of lists. Instead of having to do an iteration and then manually
    # pull out each item, we can use tuple unpacking to pull out individual items in the sublist
    # directly to variables. A really nice python feature
    #
    # Now we just need to draw our box
    drawing.rectangle((x,y,x+w,y+h), outline="red")
display(img_initial)
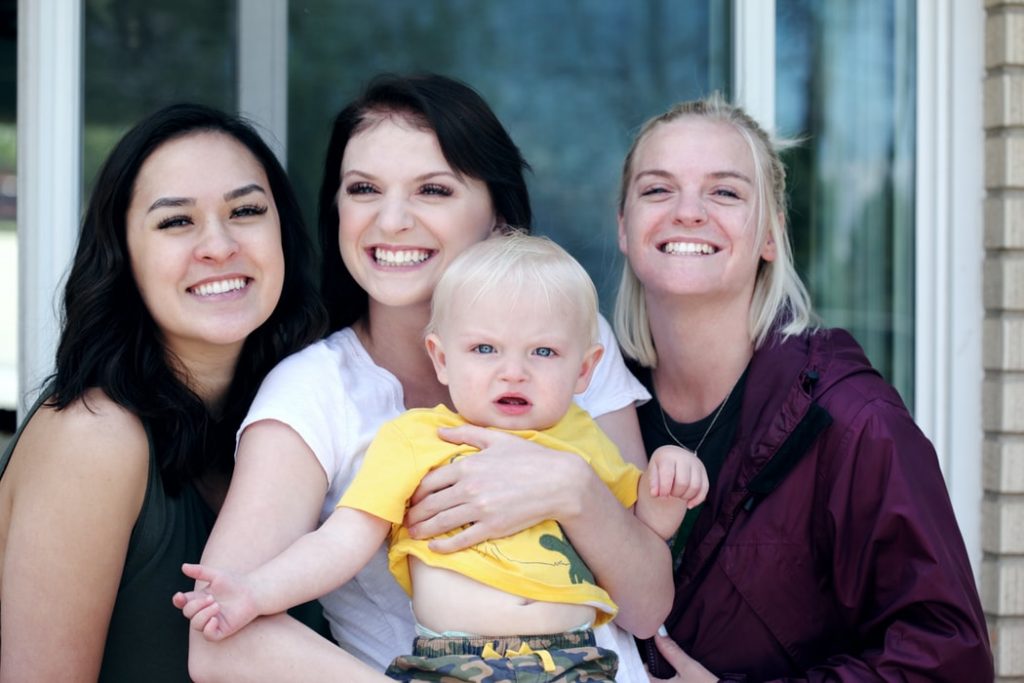
The initial Image was this one:
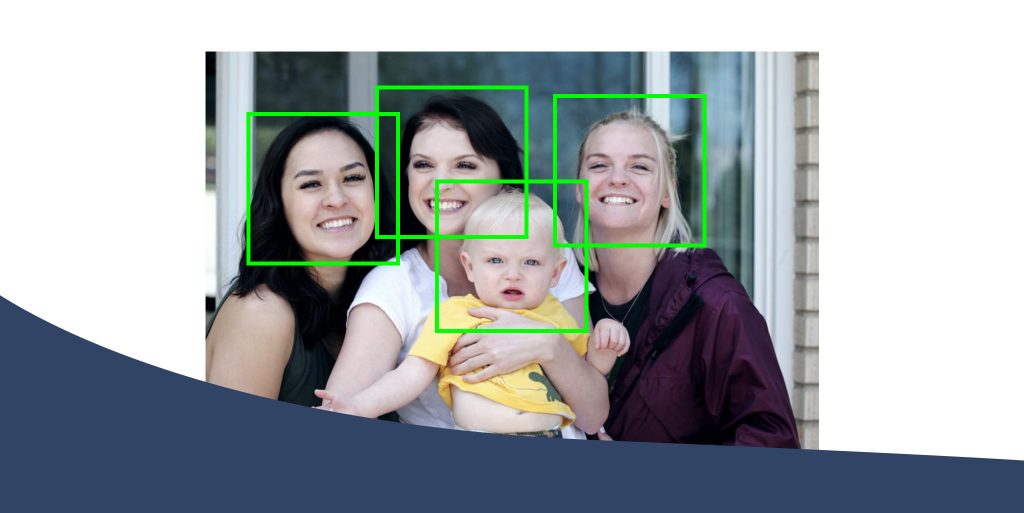
And then after drawing the Bounding Boxes we got:

As we can see, we managed to get correctly the four faces BUT we discovered also a “ghost” behind the window…
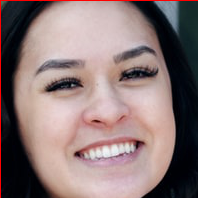
Crop the faces to separate images
We can also crop the faces to separate images
for x,y,w,h in faces:

    img_initial.crop((x,y,x+w,y+h))
    display(img_initial.crop((x,y,x+w,y+h)))
For example, the first face that we get is:
Notice: In case you wanted to read the image from the hard disk you could simply type the following three lines:
##################################################
# read image from the PC
##################################################
initial_img=Image.open('my_image.jpg')
img = cv.imread('my_image.jpg')
gray = cv.cvtColor(img, cv.COLOR_BGR2GRAY)
##################################################


1 thought on “Face Detection in OpenCV”