

Most of us have noticed the “Facebook Rainbow Filter”. This is an example of “Blending Images” where we have the target image and we add a layer on top of it.
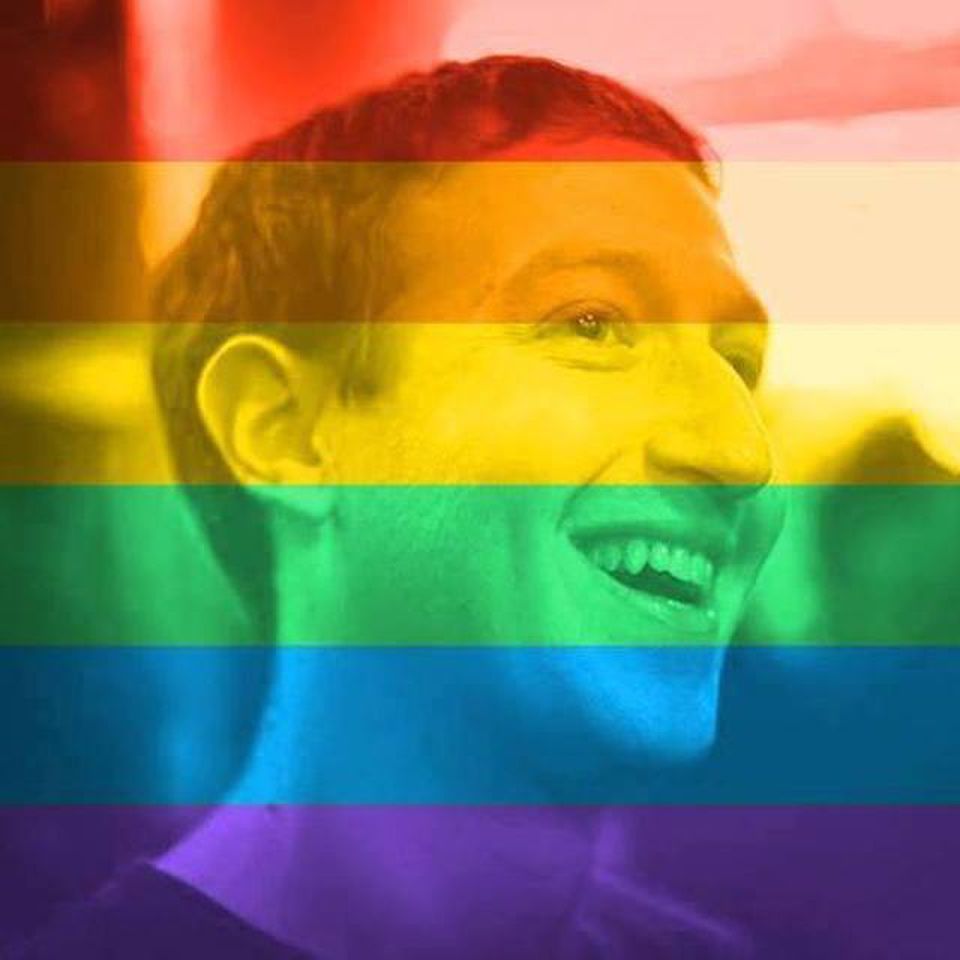
In this tutorial, we will give a walk-through example of how we can blend images using Python OpenCV. Below we represent the target and the filter images.
Target Image

Filter Image
import cv2

# Two images
img1 = cv2.imread('target.jpg')
img2 = cv2.imread('filter.png')

# OpenCV expects to get BGR images, so we will convert from BGR to RGB

img1 = cv2.cvtColor(img1, cv2.COLOR_BGR2RGB)
img2 = cv2.cvtColor(img2, cv2.COLOR_BGR2RGB)

# Resize the Images. In order to blend them, the two images
# must be of the same shape

img1 =cv2.resize(img1,(620,350))
img2 =cv2.resize(img2,(620,350))


# Now, we can blend them, we need to define the weight (alpha) of the target image
# as well as the weight of the filter image
# in our case we choose 80% target and 20% filter
blended = cv2.addWeighted(src1=img1,alpha=0.8,src2=img2,beta=0.2,gamma=0)

# finally we can save the image. Now we need to convert it from RGB to BGR

cv2.imwrite('Blending.png',cv2.cvtColor(blended, cv2.COLOR_RGB2BGR))
And voilà!

NB: There was no need to convert from BGR to RGB and then from RGB to BGR. We just included this step, in case you wanted to see the images throughout the process since matplotlib expects RGB images.


1 thought on “Blending Images with OpenCV”