

Data Scientists love to work with Jupyter notebooks. It is possible that in the machine that you have to work on, the Jupyter Notebook with the Anaconda distribution is not available and you do not want to install something so heavy for a one-off task. One option could be to work with Colab, and another option, that we will discuss right now, is to work with Dockers.
Jupyter Docker Stacks
Jupyter Docker Stacks are a set of ready-to-run Docker images containing Jupyter applications, enabling us to run Jupyter Notebooks and Jupyter Labs in a local Docker container and JupyterLab servers for a team using JupyterHub. Finally, we can create our own Dockerfiles.
Sync your Local Computer with the Docker Jupyter Notebook Container
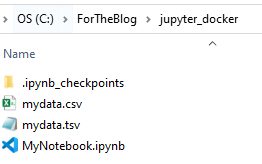
Assume that the data that you want to work with are in your local PC and you need to load them to the Docker container and moreover, the output of the analysis which will be generated in the container, needs to be copied to your local PC. In other words, we need to synchronize the local working environment with the Jupyter Notebook Docker Container. So let’s assume that our working directory is under C:\ForTheBlog\jupyter_docker (windows) where there is the mydata.tsv file.
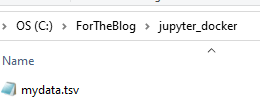
Our goal is to synchronize this folder with the Jupyter Notebook.
A Single Command
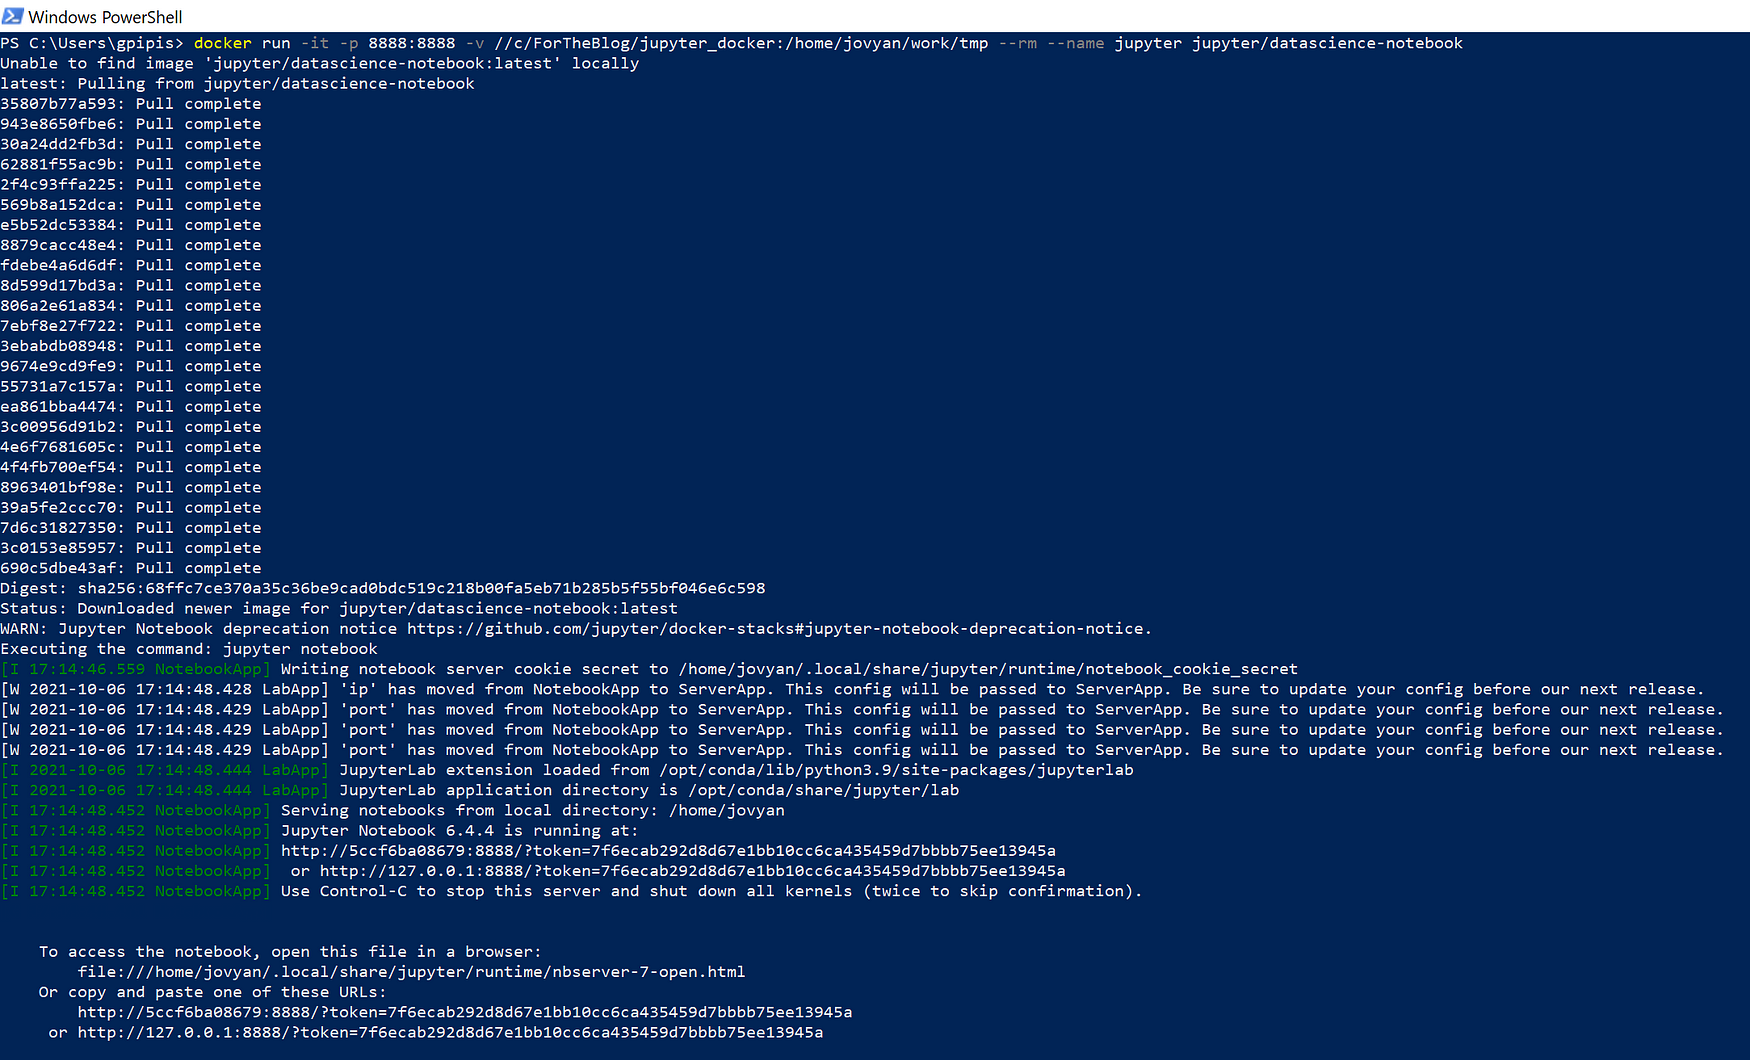
Assuming that you have installed Docker, then it requires a single command to synchronize your local directory with the Jupyter Notebook Docker Container.
docker run -it -p 8888:8888 -v //c/ForTheBlog/jupyter_docker:/home/jovyan/work/tmp --rm --name jupyter jupyter/datascience-notebook
Where:
- //c/ForTheBlog/jupyter_docker is the path of my local folder. Notice that I use windows that is why I have written the path like that (//c/…).
- -v is the flag to mount the volume
- /home/jovyan/work/tmp is the directory of the container that we want to sync. Notice that the /home/jovyan/work already exists.
- jupyter/datascience-notebook is the Docker imager
As we can see the mydata.tsv is insider the Docker container.
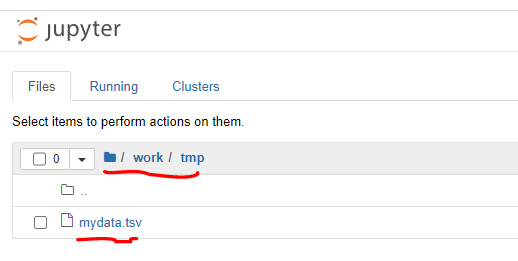
Let’s create a new file now within the Docker container.
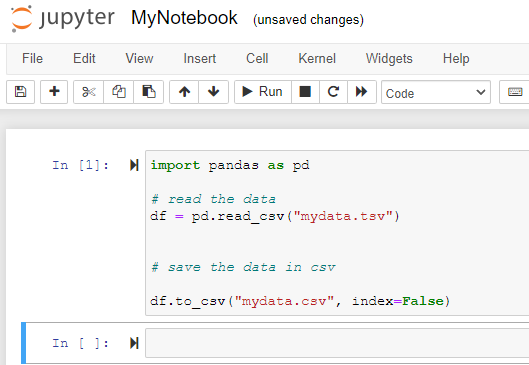

As you can see, we created two new files, the MyNotebook.ipynb and the mydata.csv. Not surprisingly, these two new files are also in our local folder!
Stop the Container
If you are done, you can stop the container. First, you need to find the container id and then to stop it.
docker ps -a
docker stop 5ccf
The Takeaway
With a single line of code, you can work with Jupyter Notebooks in Dockers like working on your local computer.


