

We have started a series of Snowflake tutorials, like How to Get Data from Snowflake using Python, How to Load Data from S3 to Snowflake and What you can do with Snowflake. In this tutorial, we will show you how to schedule tasks in Snowflake. Let’s start by creating a new table called “EX_TABLE“, with the following columns:
- ROW_ID a row id with an auto-increment of 1
- COUNTRY with a default value to be “Greece”
- REGISTRATION_DATE that is a Date
 /*
 Create a table called EX_TABLE with the following columns,
   ROW_ID a row id with an auto increment of 1
   COUNTRY with a default value to be "Greece"
   REGISTRATION_DATE that is a Date
*/

create or replace table EX_TABLE (

    ROW_ID INT AUTOINCREMENT START=1 INCREMENT=1,
    COUNTRY VARCHAR(100) DEFAULT 'Greece',
    REGISTRATION_DATE DATE
  )
Create a Task
Currently, the EX_TABLE is empty. We will schedule a task, called “EX_TABLE_INSERT“, that will insert a new row of a current date for every minute. Then, we will need to start the task by altering it and setting it to “RESUME”. For example:
// Create a Task

CREATE OR REPLACE TASK EX_TABLE_INSERT
    WAREHOUSE = COMPUTE_WH
    SCHEDULE = '1 MINUTE'  --ALWAYS IN MINUTES like 120 MINUTE
    AS
    INSERT INTO EX_TABLE(REGISTRATION_DATE) VALUES(CURRENT_DATE);


// Start the tasks
ALTER TASK EX_TABLE_INSERT RESUME;

// In case you want to see the task
SHOW TASKS;
If you wait for some minutes, you will see that the EX_TABLE will start adding rows. For example:
select * from EX_TABLE

Using CRON notation
We can also use a CRON notation as follows:
CREATE OR REPLACE TASK EX_TABLE_INSERT
    WAREHOUSE = COMPUTE_WH
    SCHEDULE = 'USING CRON * * * * * UTC'
    AS
    INSERT INTO EX_TABLE(REGISTRATION_DATE) VALUES(CURRENT_DATE);
Recall the CRON notation:
 __________ minute (0-59)
 | ________ hour (0-23)
 | | ______ day of month (1-31, or L)
 | | | ____ month (1-12, JAN-DEC)
 | | | | __ day of week (0-6, SUN-SAT, or L)
 | | | | |
 | | | | |
 * * * * *
Stop a Task
We can stop the task by running:
// Start the tasks
ALTER TASK EX_TABLE_INSERT SUSPEND;
Drop a Task
You can simply drop the task as follows:
DROP TASK EX_TABLE_INSERT;
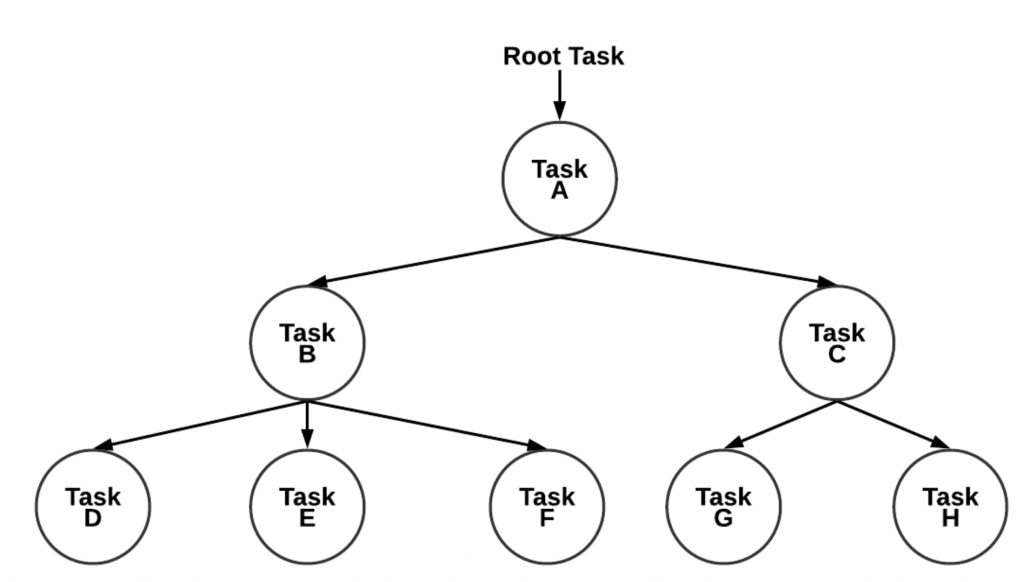
Tree of Tasks
Users can define a simple tree-like structure of tasks that starts with a root task and is linked together by task dependencies. Snowflake supports a single path between any two nodes; i.e. an individual task can have only a single parent task and this is the difference from the DAG structure, where a single node can have multiple parents.
Let’s create the following tree of tasks. The root task is to truncate the table and the child task to insert a new row of the current date.
// Create the Root Task

CREATE OR REPLACE TASK EX_TABLE_TRUNCATE
    WAREHOUSE = COMPUTE_WH
    SCHEDULE = '1 MINUTE'  --ALWAYS IN MINUTES like 120 MINUTE
    AS
    TRUNCATE TABLE IF EXISTS EX_TABLE;

 // Create the Child Task
  CREATE OR REPLACE TASK EX_TABLE_INSERT
    WAREHOUSE = COMPUTE_WH
    AFTER EX_TABLE_TRUNCATE
    AS
    INSERT INTO EX_TABLE(REGISTRATION_DATE) VALUES(CURRENT_DATE);


// Resume the ROOT Task and its dependencies
SELECT system$task_dependents_enable('EX_TABLE_TRUNCATE');
As you can see, we created a tree task by enabling the task dependents. Let’s see what is in EX_TABLE now (has passed an hour and more :))
SELECT * FROM EX_TABLE

Note that we have a single row and the ROW_ID, which is a column with auto-increment, has a value equal to 65, since we truncate and not deleting the table. Note that we could have resumed the tasks one by one, by starting with the children and ending with the parent task. For example:
ALTER TASK EX_TABLE_INSERT RESUME;
ALTER TASK EX_TABLE_TRUNCATE RESUME;
Now, we can drop the tasks. First, we need to suspend the tasks and then drop them. For example:
ALTER TASK EX_TABLE_TRUNCATE SUSPEND;
ALTER TASK EX_TABLE_INSERT SUSPEND;

DROP TASK EX_TABLE_INSERT;
DROP TASK EX_TABLE_TRUNCATE;


